


Loose Tap: Why It Wobbles and How to Tighten It
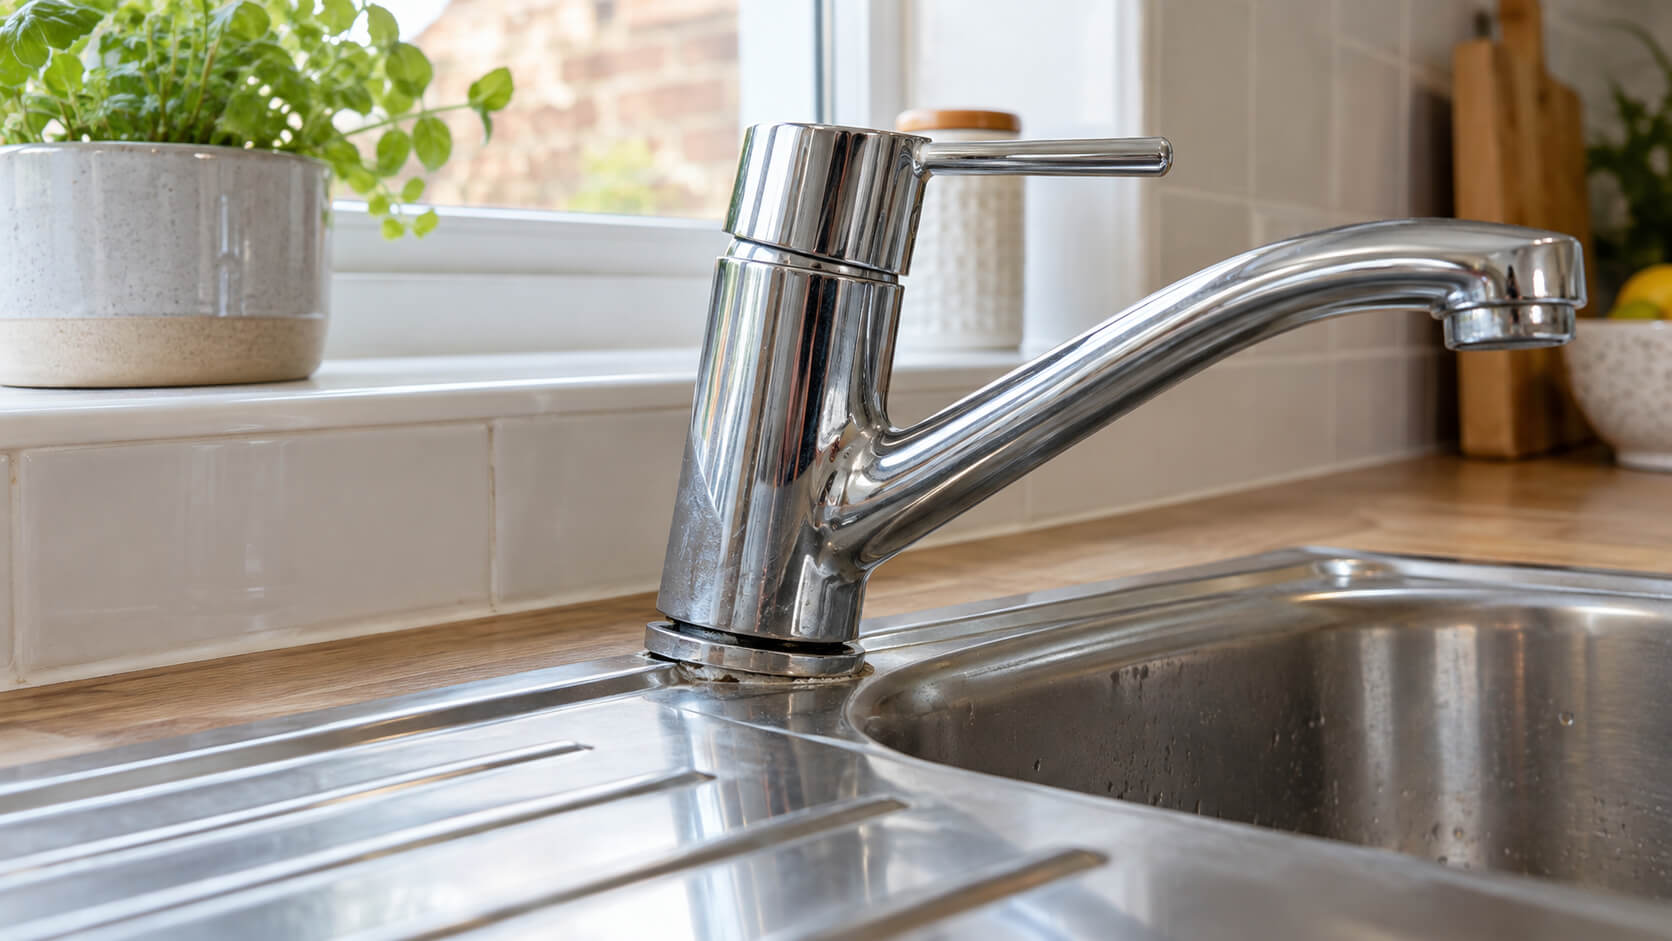
A loose tap may move at the base, wobble when the handle is used or feel unstable where it is fixed to the sink or worktop. The cause may be a loosened mounting fixing, movement in the handle or wear in the parts holding the tap securely in position.
This guide explains how to identify which part of the tap is moving, which accessible fixings can be checked safely, and when repeated movement or a separate water leak should follow a different repair route.
Checks for a Loose Tap
- Check whether the whole tap moves at the base or only the handle or head feels loose
- Check whether the tap moves where it meets the sink, basin or worktop
- Look for an obvious loose or missing fixing associated with the tap handle or head
- Note whether there is also water appearing around the tap base or dripping from the tap
- Locate the water shut-off before disturbing any fitting or connection


Who will come to my home?
A certified local plumber from our vetted network, on the day and time you choose. You get a confirmation by email as soon as you book.
Are the parts included?
Small parts like washers, seals, valves and flush mechanisms are always included: the plumber brings the right one. For things you choose, like taps, toilets or radiators, you can supply your own or the plumber brings a standard one, as shown on your quote.
What if the plumber finds something else?
The fixed price covers the work on your quote. If the plumber finds something different on site, they explain it and quote it before starting, and you decide whether to go ahead.
What does the call-out fee cover?
When a fault needs to be found first, the plumber diagnoses it at your property and repairs what they can on the spot, with up to 1 hour of work included.
Do I pay now?
No. You see the price, then pick a date and time. Payment is only confirmed at checkout, and cancellation is free.

Recently booked jobs



Why Is My Tap Loose or Wobbly?
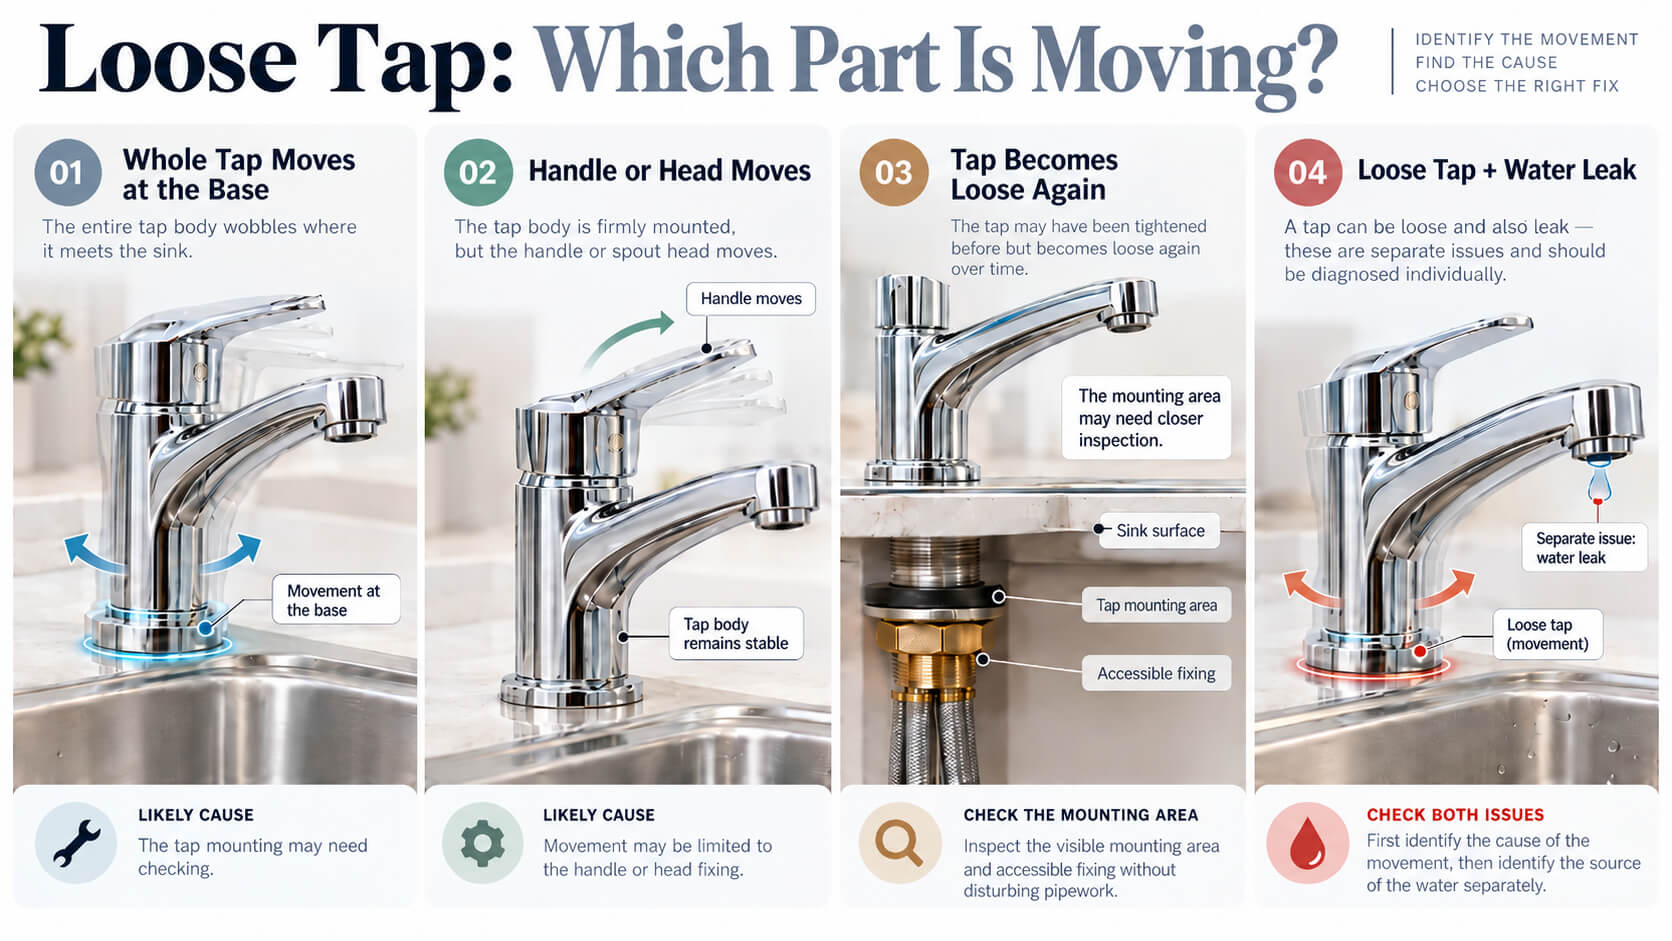
A loose tap can mean the whole tap body is moving at the base, or that only the handle or head feels unstable when you use it. Identifying exactly which part moves is the quickest way to avoid tightening the wrong component or disturbing parts that are not causing the problem.
If the complete tap rocks against the sink, basin or worktop, the first area to check is usually the mounting underneath. A loose securing nut, bolt or threaded fixing can allow the tap body to move even though the tap still turns on and off normally.
The Tap Is Loose at the Base
When the whole tap moves where it meets the sink or worktop, the mounting underneath is the main area to inspect. Depending on the tap design, it may be held in place by a nut, bolt, threaded stud or another fixing arrangement below the surface.
Repeated use can allow a fixing to loosen gradually. Before tightening anything, look underneath and confirm which component actually secures the tap. Do not assume every visible nut belongs to the tap mounting, especially where flexible supply connections are close together.
The Tap Handle or Head Feels Loose
If the tap body stays firmly fixed but the handle or head moves independently, the problem is different from a loose tap base. The movement may be limited to the operating part of the tap rather than the mounting that holds the complete fitting to the sink.
Check whether there is an obvious accessible fixing associated with the loose handle or head. Tap designs vary, so avoid forcing decorative caps, levers or concealed components simply to follow a generic repair method. If the fixing is not clear, further dismantling is better left until the tap design has been identified.
Worn or Damaged Fixings Can Cause Movement
Tightening alone may not solve the problem if the parts holding the tap securely have deteriorated. Washers used around the mounting area can wear or become damaged, while bolts, nuts or other fixing components may no longer hold the tap as firmly as intended.
If an accessible mounting nut has already been tightened but the tap still moves, inspect the visible fixing arrangement rather than repeatedly applying more force. Continued movement after tightening can indicate that a washer, fixing or mounting surface needs closer attention.
| What moves? | Check first | What it suggests |
|---|---|---|
| Whole tap at the base | Mounting nut, bolt or threaded fixing underneath | The tap mounting may have loosened |
| Handle or head only | The accessible handle fixing | The movement may be local to the operating part |
| Tap moves again after tightening | Washers and mounting components | A worn or damaged fixing may need attention |
| Tap is loose and water is escaping | Identify the exact source of the water separately | There may be both a mounting fault and a leak |
How Do You Tighten a Loose Tap?
To tighten a loose tap safely, first identify the part that is moving and the fixing that is intended to secure it. The repair should target that fixing rather than simply tightening every nut that can be reached underneath the sink.
Before carrying out repair work or removing components, isolate the water supply and confirm that flow has stopped. Access beneath sinks and basins can be restricted, so make sure you can clearly see the fixing and use the correct tool without pulling on nearby pipework or flexible connections.
Check Which Part of the Tap Is Moving
Hold the tap body gently and test where the movement starts. If the complete tap moves against the sink or worktop, inspect the mounting below. If the main body stays still but the handle moves, concentrate on the handle rather than the base.
This distinction also helps prevent unnecessary dismantling. A loose mounting beneath a monobloc tap, for example, is a different fault from movement confined to a lever or tap head.
Tighten an Accessible Mounting Nut or Fixing
If you can clearly identify the mounting nut, bolt or threaded fixing that holds the tap in place, tighten that component carefully with an appropriate tool. Support the tap above the sink if necessary so it remains correctly positioned while the fixing is secured underneath.
The aim is to remove unwanted movement, not to apply as much force as possible. Once the fixing feels secure, test the tap gently from above. If it remains stable, restore the water supply and check around the tap and accessible connections for any sign of leakage.
Tighten a Loose Tap Handle Carefully
When only the handle or head is loose, do not tighten the main mounting underneath unless the whole tap body is also moving. Look instead for an accessible fixing associated with the handle and confirm that it is the component allowing the movement.
If the fixing is obvious and can be reached without dismantling the valve or disturbing water-bearing parts, it can be secured carefully with the correct tool. If the handle design is concealed, damaged or unclear, avoid forcing it apart merely to reach a hidden fixing.
When Does a Loose Tap Need Further Repair?
A tap that remains stable after the correct fixing is tightened may need no further work, but repeated movement can point to more than a simple loose nut. Damaged washers, worn fixing components, poor access or deterioration around the mounting can prevent the tap from staying securely fixed.
It is also important to separate mechanical movement from water leakage. A tap can be loose without dripping, and it can also have both problems at the same time. Diagnose the movement and the source of any escaping water separately rather than assuming one repair will automatically solve both.
The Tap Becomes Loose Again After Tightening
If the tap becomes loose again soon after the mounting has been secured, repeatedly tightening the same fixing is unlikely to be the best next step. Check whether the mounting washer or other visible components are worn, damaged or no longer holding the tap firmly against the surface.
Also check whether the sink, basin or worktop around the tap is allowing movement. If the mounting cannot be stabilised without dismantling supply connections or replacing damaged components, stop at the diagnostic stage rather than applying additional force.
The Tap Is Loose and Also Leaking
A loose tap and a dripping tap are not automatically the same fault. If water is dripping from the spout or escaping from the tap mechanism, diagnose that separately using the dripping tap guide. If water is appearing underneath the sink, first establish whether it is coming from the tap body, a supply connection or nearby pipework.
Water fittings that are damaged, worn or otherwise faulty should not be left in a condition that causes or is likely to cause water waste. If tightening the mounting does not stop an accompanying leak, treat the water loss as a separate repair issue instead of continuing to tighten the tap.
When Should You Stop DIY Checks?
Stop if you cannot clearly identify the fixing, access is too restricted to use a tool safely, components are damaged, or tightening requires disturbing pipework or water connections. A simple mounting adjustment should not turn into unnecessary dismantling of the tap or supply system.
If the tap still moves after the accessible fixing has been checked, or the problem involves damaged parts or persistent leakage, use the plumber booking route for the next repair step.